GETTING STARTED
Support
All of our Free Themes are handled exclusively through WordPress.org Support Forum
Please follow the steps below before submitting a support request.
- Make sure you are running the latest version of the theme and the latest version of WordPress.
- Have a close look at theme documentation for the answer to your question.
- Have a close look at the support forum whether the question has been asked before.
- Disable all additional 3rd party plugins that you are using to check if it fixes the issue.
If the above steps didn’t fix your issue please create an account or login on the WordPress.org Support Forum.
- Responding to questions or problems regarding the item and its features
- Fixing bugs and reported issues
- Providing updates to ensure compatibility with new software versions
Item support does not include:
- Customization and installation services
- Support for third party software and plug-ins
Installing Theme
Installation Requirements
To install your new theme you must have a working version of WordPress* already installed installed on your self-hosted site.
For information on how to install the WordPress software, please visit WordPress Codex – Installing WordPress.
-
This theme required WordPress at least 4.1+. It’s highly recommended that you have the latest version of your WordPress installed.
Theme Installation Process
You can install Marlin Lite WordPress theme through your WordPress dashboard, like you would do with any other WordPress theme.
- Log in to your WordPress site
- Go to Appearance >> Themes
- Click Add New Theme
- Type “Marlin Lite” into the search field on the right side
- Click install to install the theme.
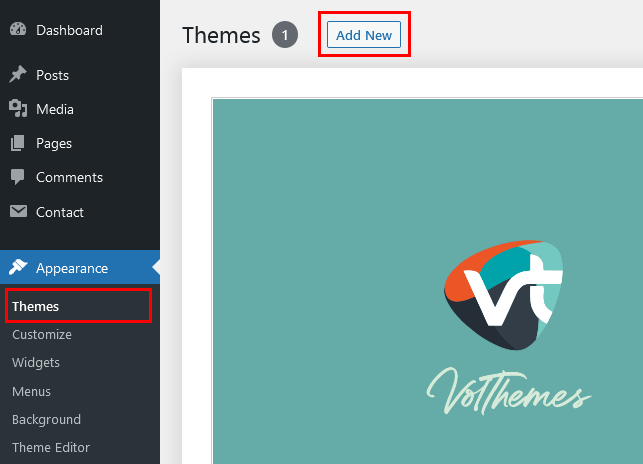
When the theme installation is finished you should see a message “Theme installed successfully”. Click Activate to activate the theme.
Go to Appearance > Customize: to get started customizing theme.
Menu Setup
2. Select “create a new menu” at the top of the page.
3. Enter a name for your new menu in the Menu Name box.
4. Select the “Pages” or “Categories” by clicking the check box next to each “Pages” or “Categories” that you want to include in the menu.
5. Click the “Add to Menu” button located at the bottom of tab to your menu.
6. Click the “Save Menu” button.
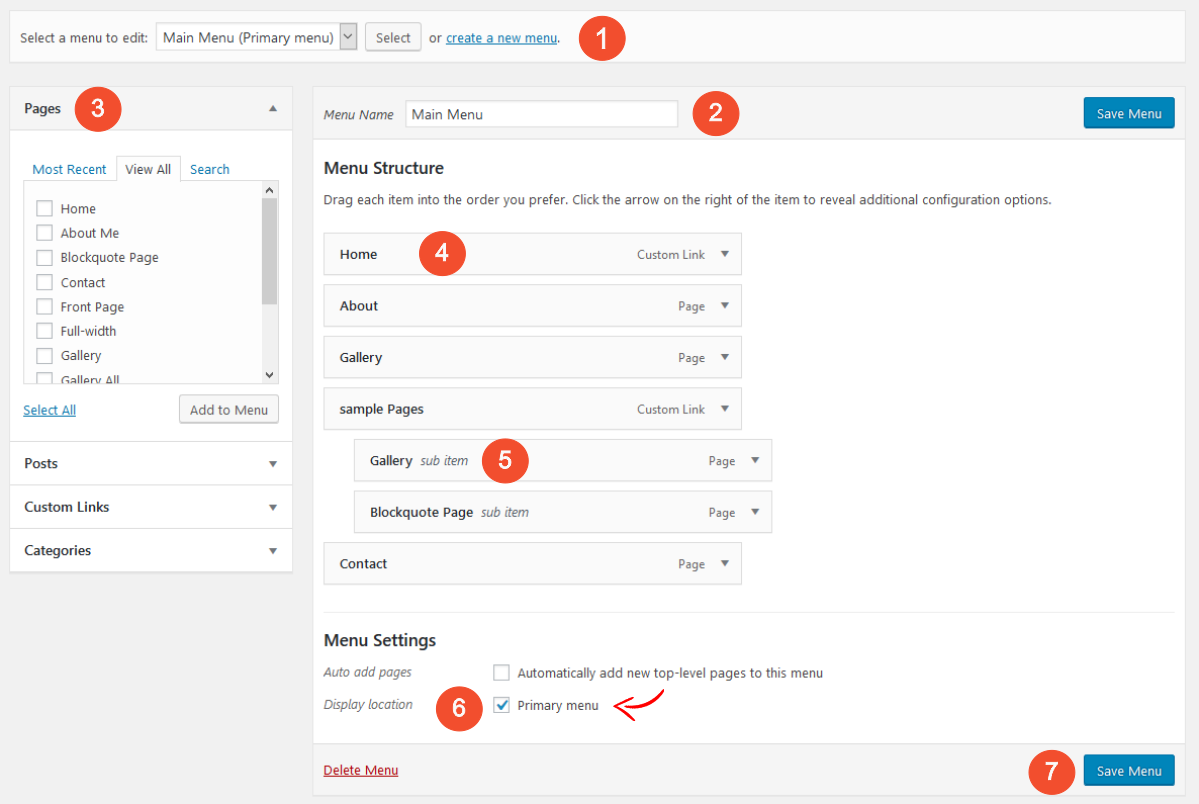
Note: If you already have Menu name and list, then you can select “Primary Menu” at the bottom “Menu Settings > Theme locations”, and “Save Menu”.
Add the About Widget
2. Click on “Select Files”
3. Upload a square image of you. (Ideal size 300x250px)
4. Click on “edit”
5. Copy the link from “File URL”
6. Go to “Appearance > Widgets”
7. Move/ drag the “[Marlin] About Widget” to the Sidebar
8. Paste the url in the “Image URL”
9. Write a text in “About Description”
10. Add the url of your about page
11. Click on “Save”
Add Featured Image
Featured images also known as post thumbnails are a popular feature in WordPress themes.
Simply create a new post and scroll down a little to see if there is a meta box called featured images on the right hand side of the screen.
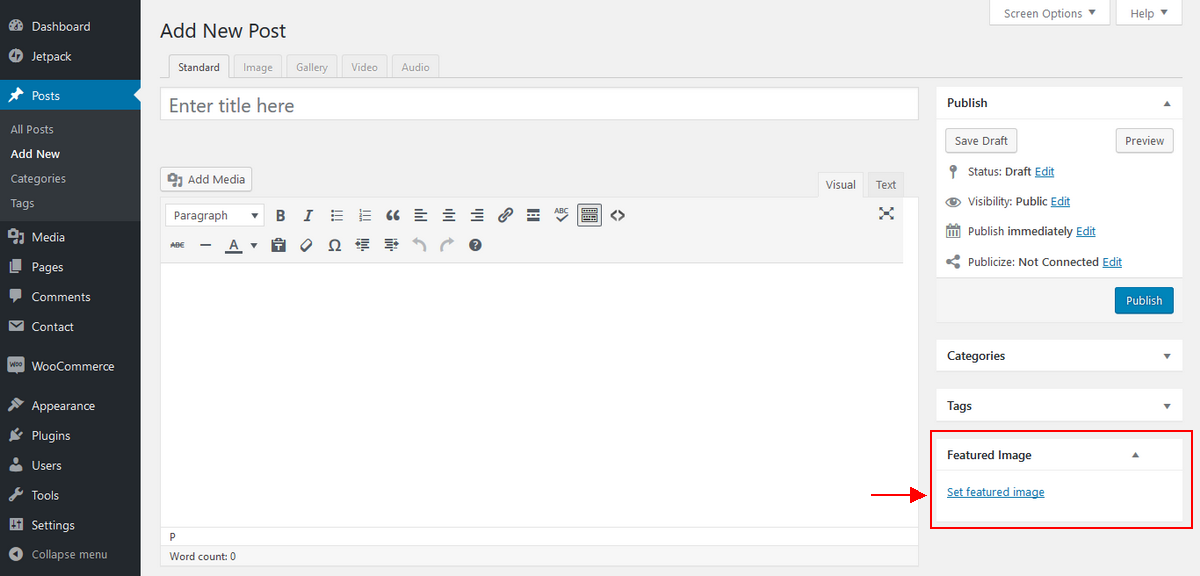
This will open the WordPress Media Uploader. You can use that to upload an image from your computer or use an existing image from your media library. Once you select the image, simply click on Set Featured Image button.
Ideal Image size: Minimum 800x533px (width:800px – height:533px)
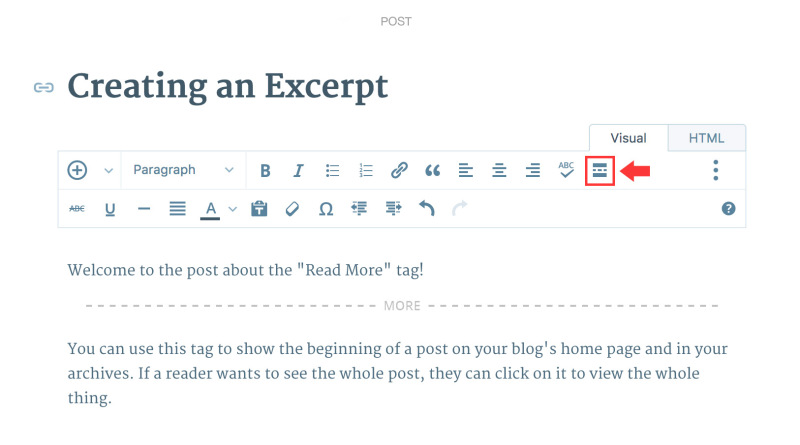
Post Excerpt/ Read More Button
To edit a post that already exists on your site, go to Posts > All Posts in your WordPress dashboard. Click on the title of the post you want to edit in the list provided.
In your Visual Editor’s toolbar, click on the the “Insert Read More tag” button. You can find the More Tag button in the first row:
Customize/ Theme Customizer
All of the options provided in Marlin theme are handled using the WordPress Theme Customizer, which was added in WordPress version 3.4. This provides numerous distinct advantages over 3rd party options panels, including:
- Utilizing native WordPress features.
- A simple, intuitive interface.
- Live preview of options changes before committing them.
- Cutting down on code bloat.
To get to the WordPress Theme Customizer, go to “Appearance Customize” in the WordPress Admin Panel. Once you are there, you will be presented with a screen consisting of the options panel on the left and the preview of your site on the right. It should be noted that nothing you change in the Theme Customizer will be committed until you select “Save & Publish.”
This is an incredibly handy feature as it lets you to view everything you’re changing on your site before any of your visitors see anything you’re updating, allowing you to get 4 things exactly the way you want them before making them live.
Color Settings
Contact Page
The theme supports the popular plugin “Contact Form 7” to easily create working contact forms.
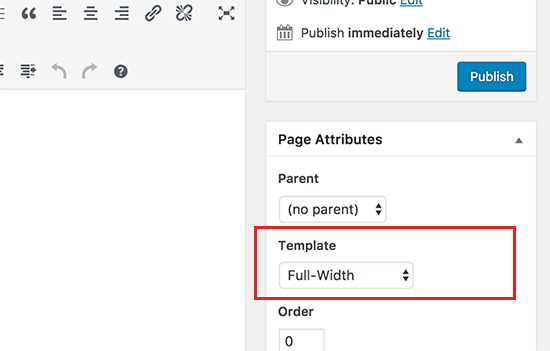
Fullwidth Page template
To create a Fullwidth Page:
- Step 1 – Go to your wordpress admin >> Pages and click the Add New button or Edit the page you need to make Fullwidth page.
- Step 2 – Find the page attributes box and locate the template select box and choose “Fullwidth”.
- Step 3 – Save or Publish the page, by click the appropriate button in the top right of your screen.
- Step 4 – You will see a page that looks like the one below. Edit the fields for the desired output.
Additional Features/Options
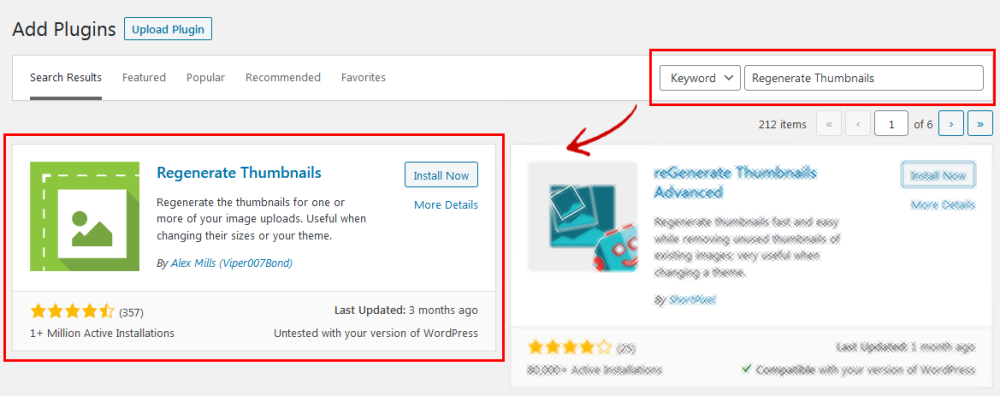
Regenerate Thumbnails
If you are migrating to Marlin Lite from another theme you may wish to resize your images first so that they fit better within the new theme.
To do this, please install Regenerate Thumbnails WordPress plugin.
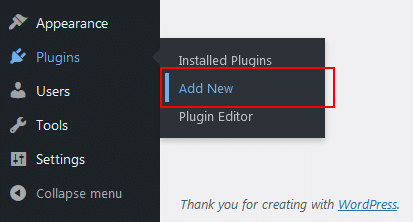
Type “Regenerate Thumbnails” in the search box, install and run the Regenerate Thumbnails plugin.
Additional CSS
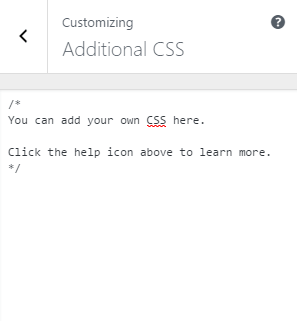
Image Sources
100% of the images used in Marlin Lite demo are from pixabay.com. published under Creative Commons Public Domain deed CC0.
This means you can copy, modify, distribute and use the images for free, including commercial purposes, without asking permission from or providing attribution to the photographer or Pixabay.
Upgrade to Marlin Premium
We hope you enjoy using Marlin Lite by VolThemes. If you would like to have more features and options, you can upgrade to the premium version and benefit from more awesome features and excellent theme support.
Configure your own news website or blog within a few minutes and benefit from endless possibilities to customize your website. Learn more about the premium version of Marlin WordPress Theme.